This might just be my favorite chapter in this series.
Setting the scene is not only one of the primary building blocks for creating a stunning image of your cubs that you love, but it also creates an opportunity to make priceless memories with them. Setting the scene can be simple and spontaneous (which is great for our busy lives chasing cubs around!) or you can go all out on an idea you’ve had in your head for months. I’ve done it both ways, and both can have great results. The key is to put the work and thought in ahead of time, so that by the time you go to grab your camera, your mind will be clear and present with your kids.
Here are a few simple tips for getting your scene ready so all you think about when taking photos is how adorable your kids are, AND how great they look on camera.
1. Center your shoot around an activity.
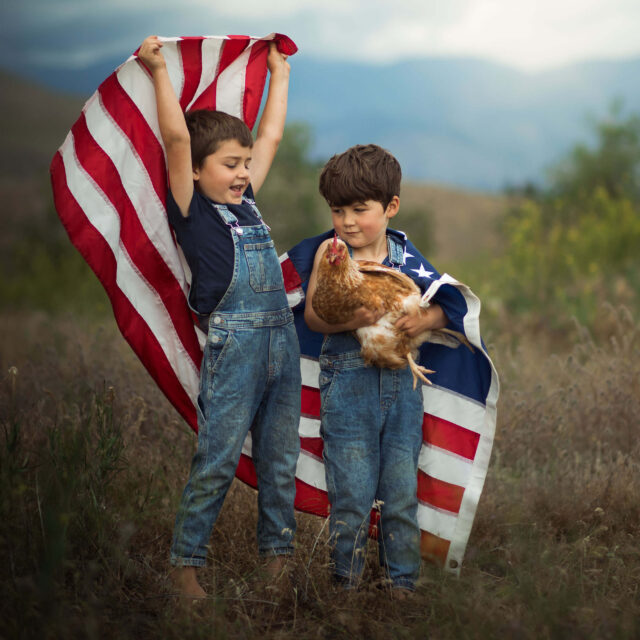
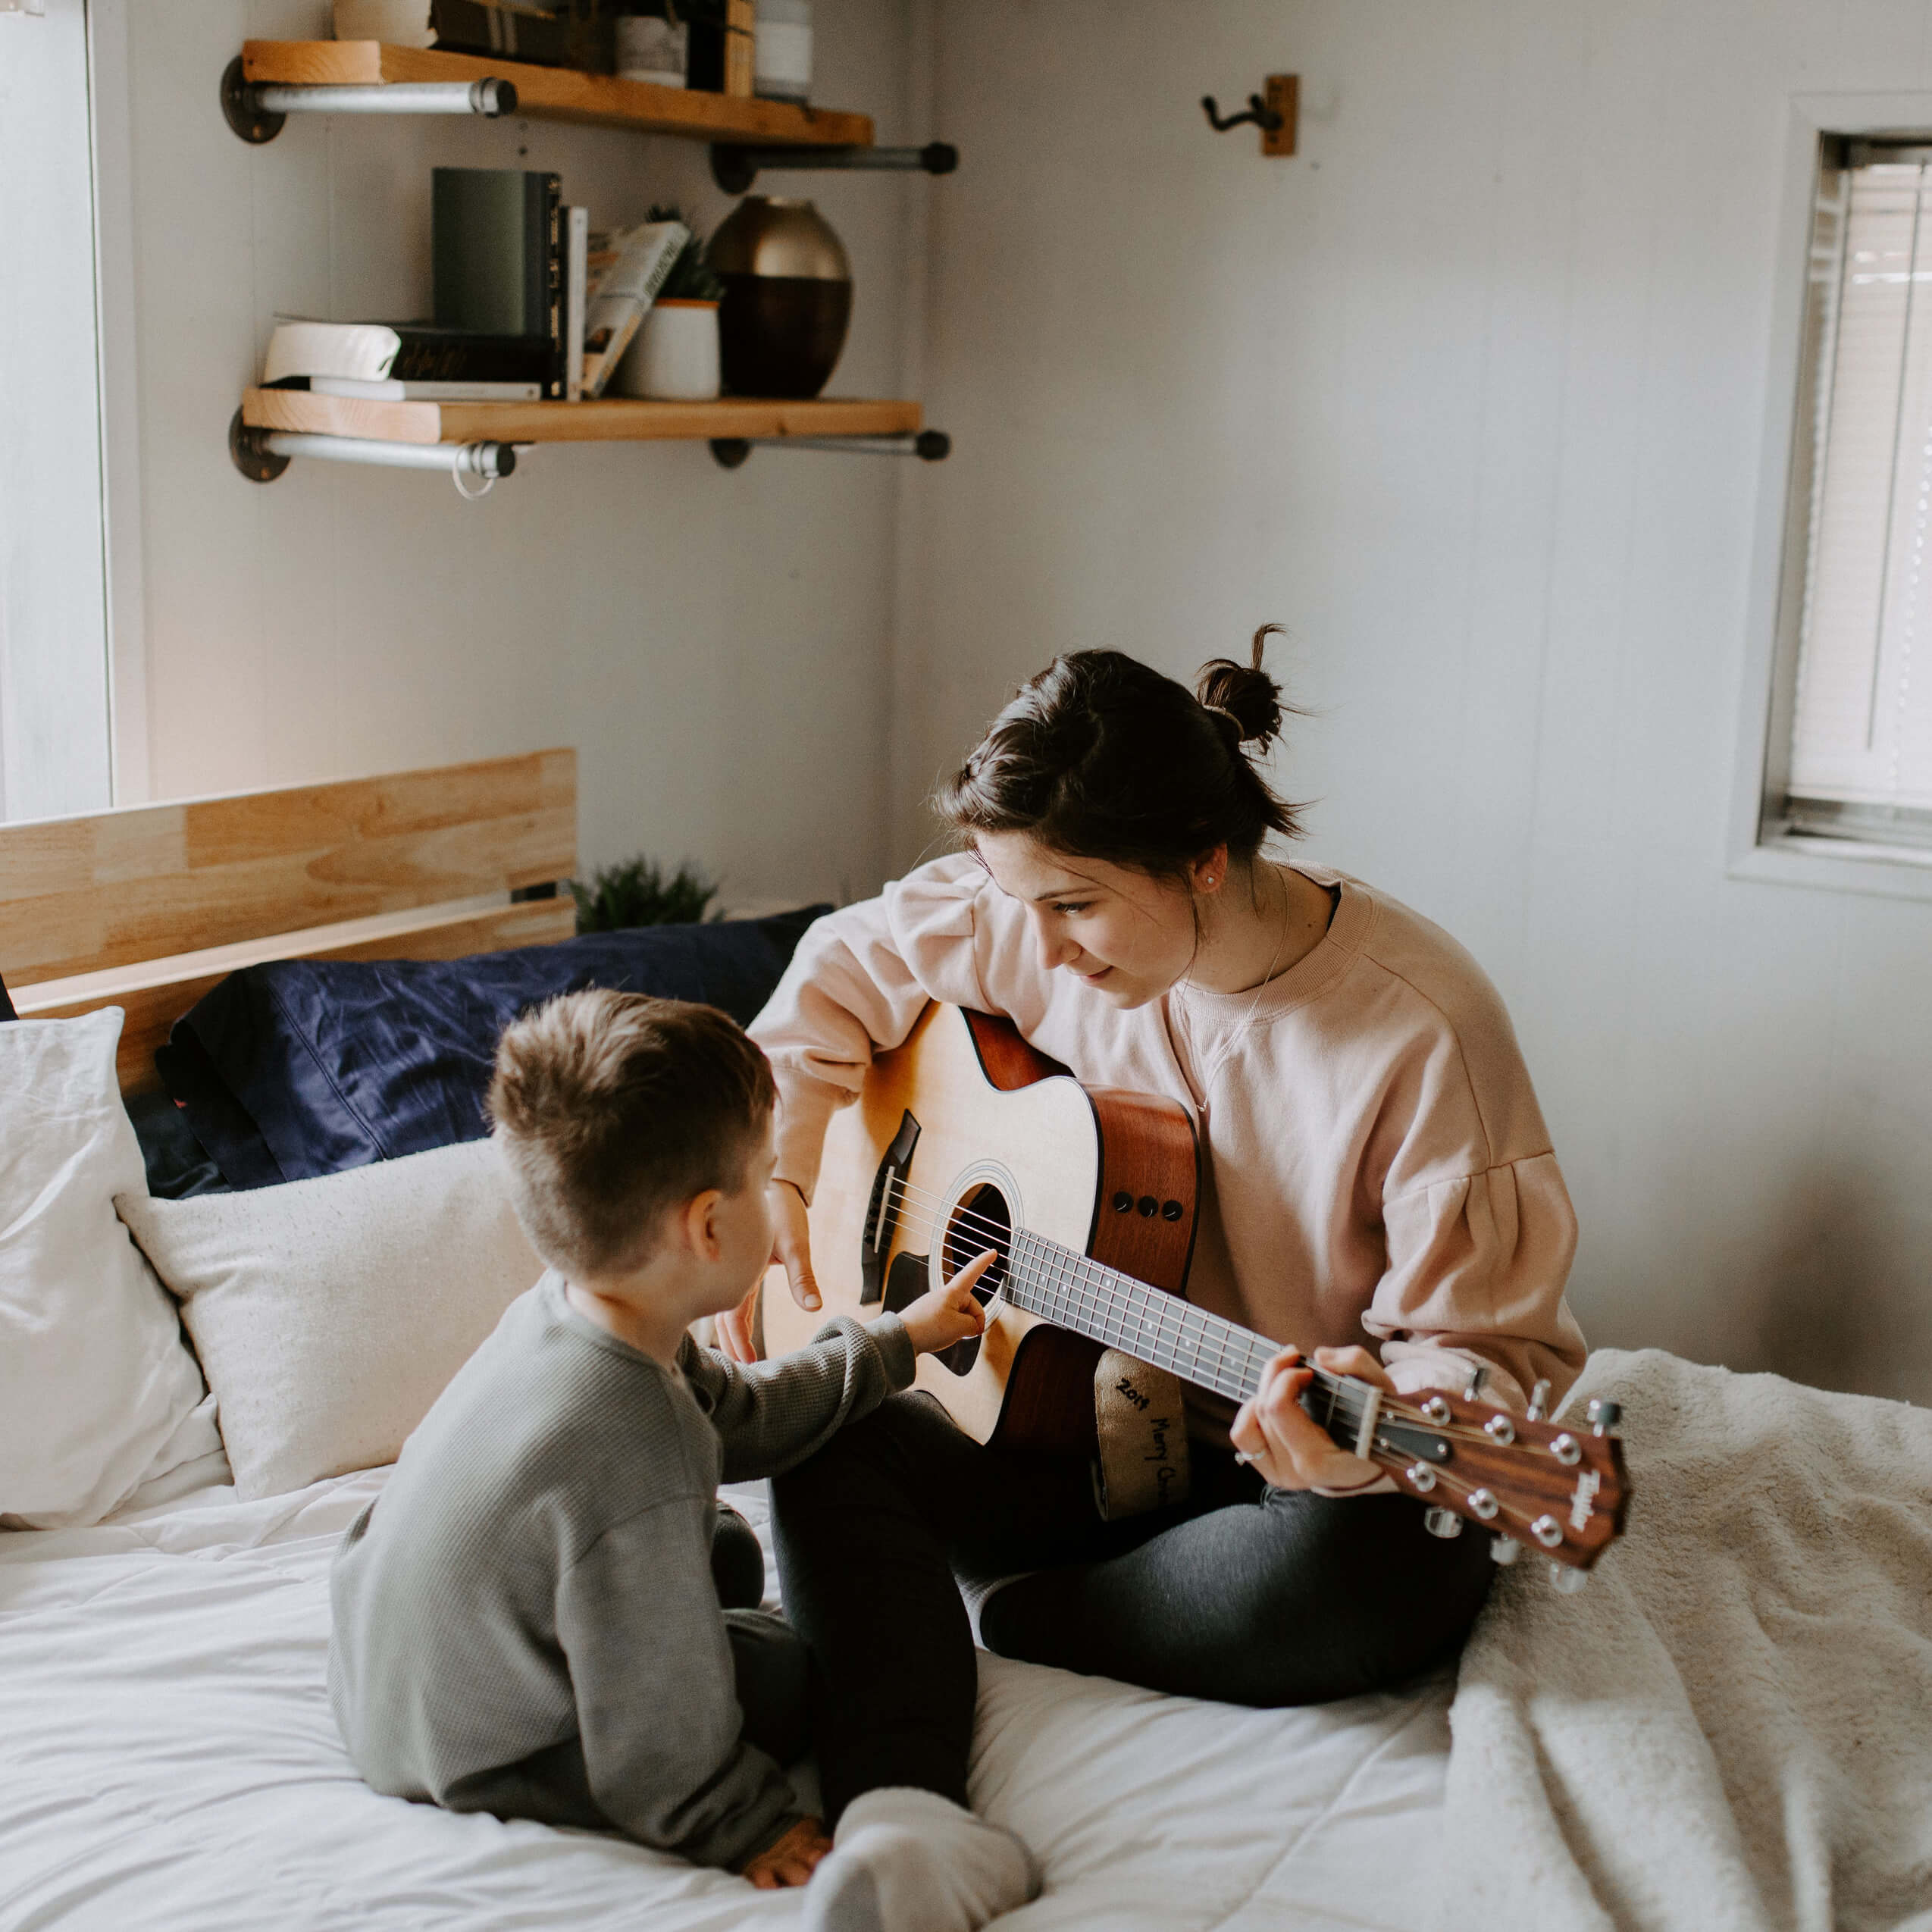
Giving your kids something to do (or eat!) especially when they’re young is going to do wonders for cultivating those natural smiles and giggles. Allowing them to be fully present in what they’re doing instead of smiling for the camera or posing in a certain way gives you the opportunity to capture a moment that is genuine and real. Keep it simple! The activity does not have to be complicated. Capture them in their element, doing something they already love.
 Activity Ideas
— eating popsicles
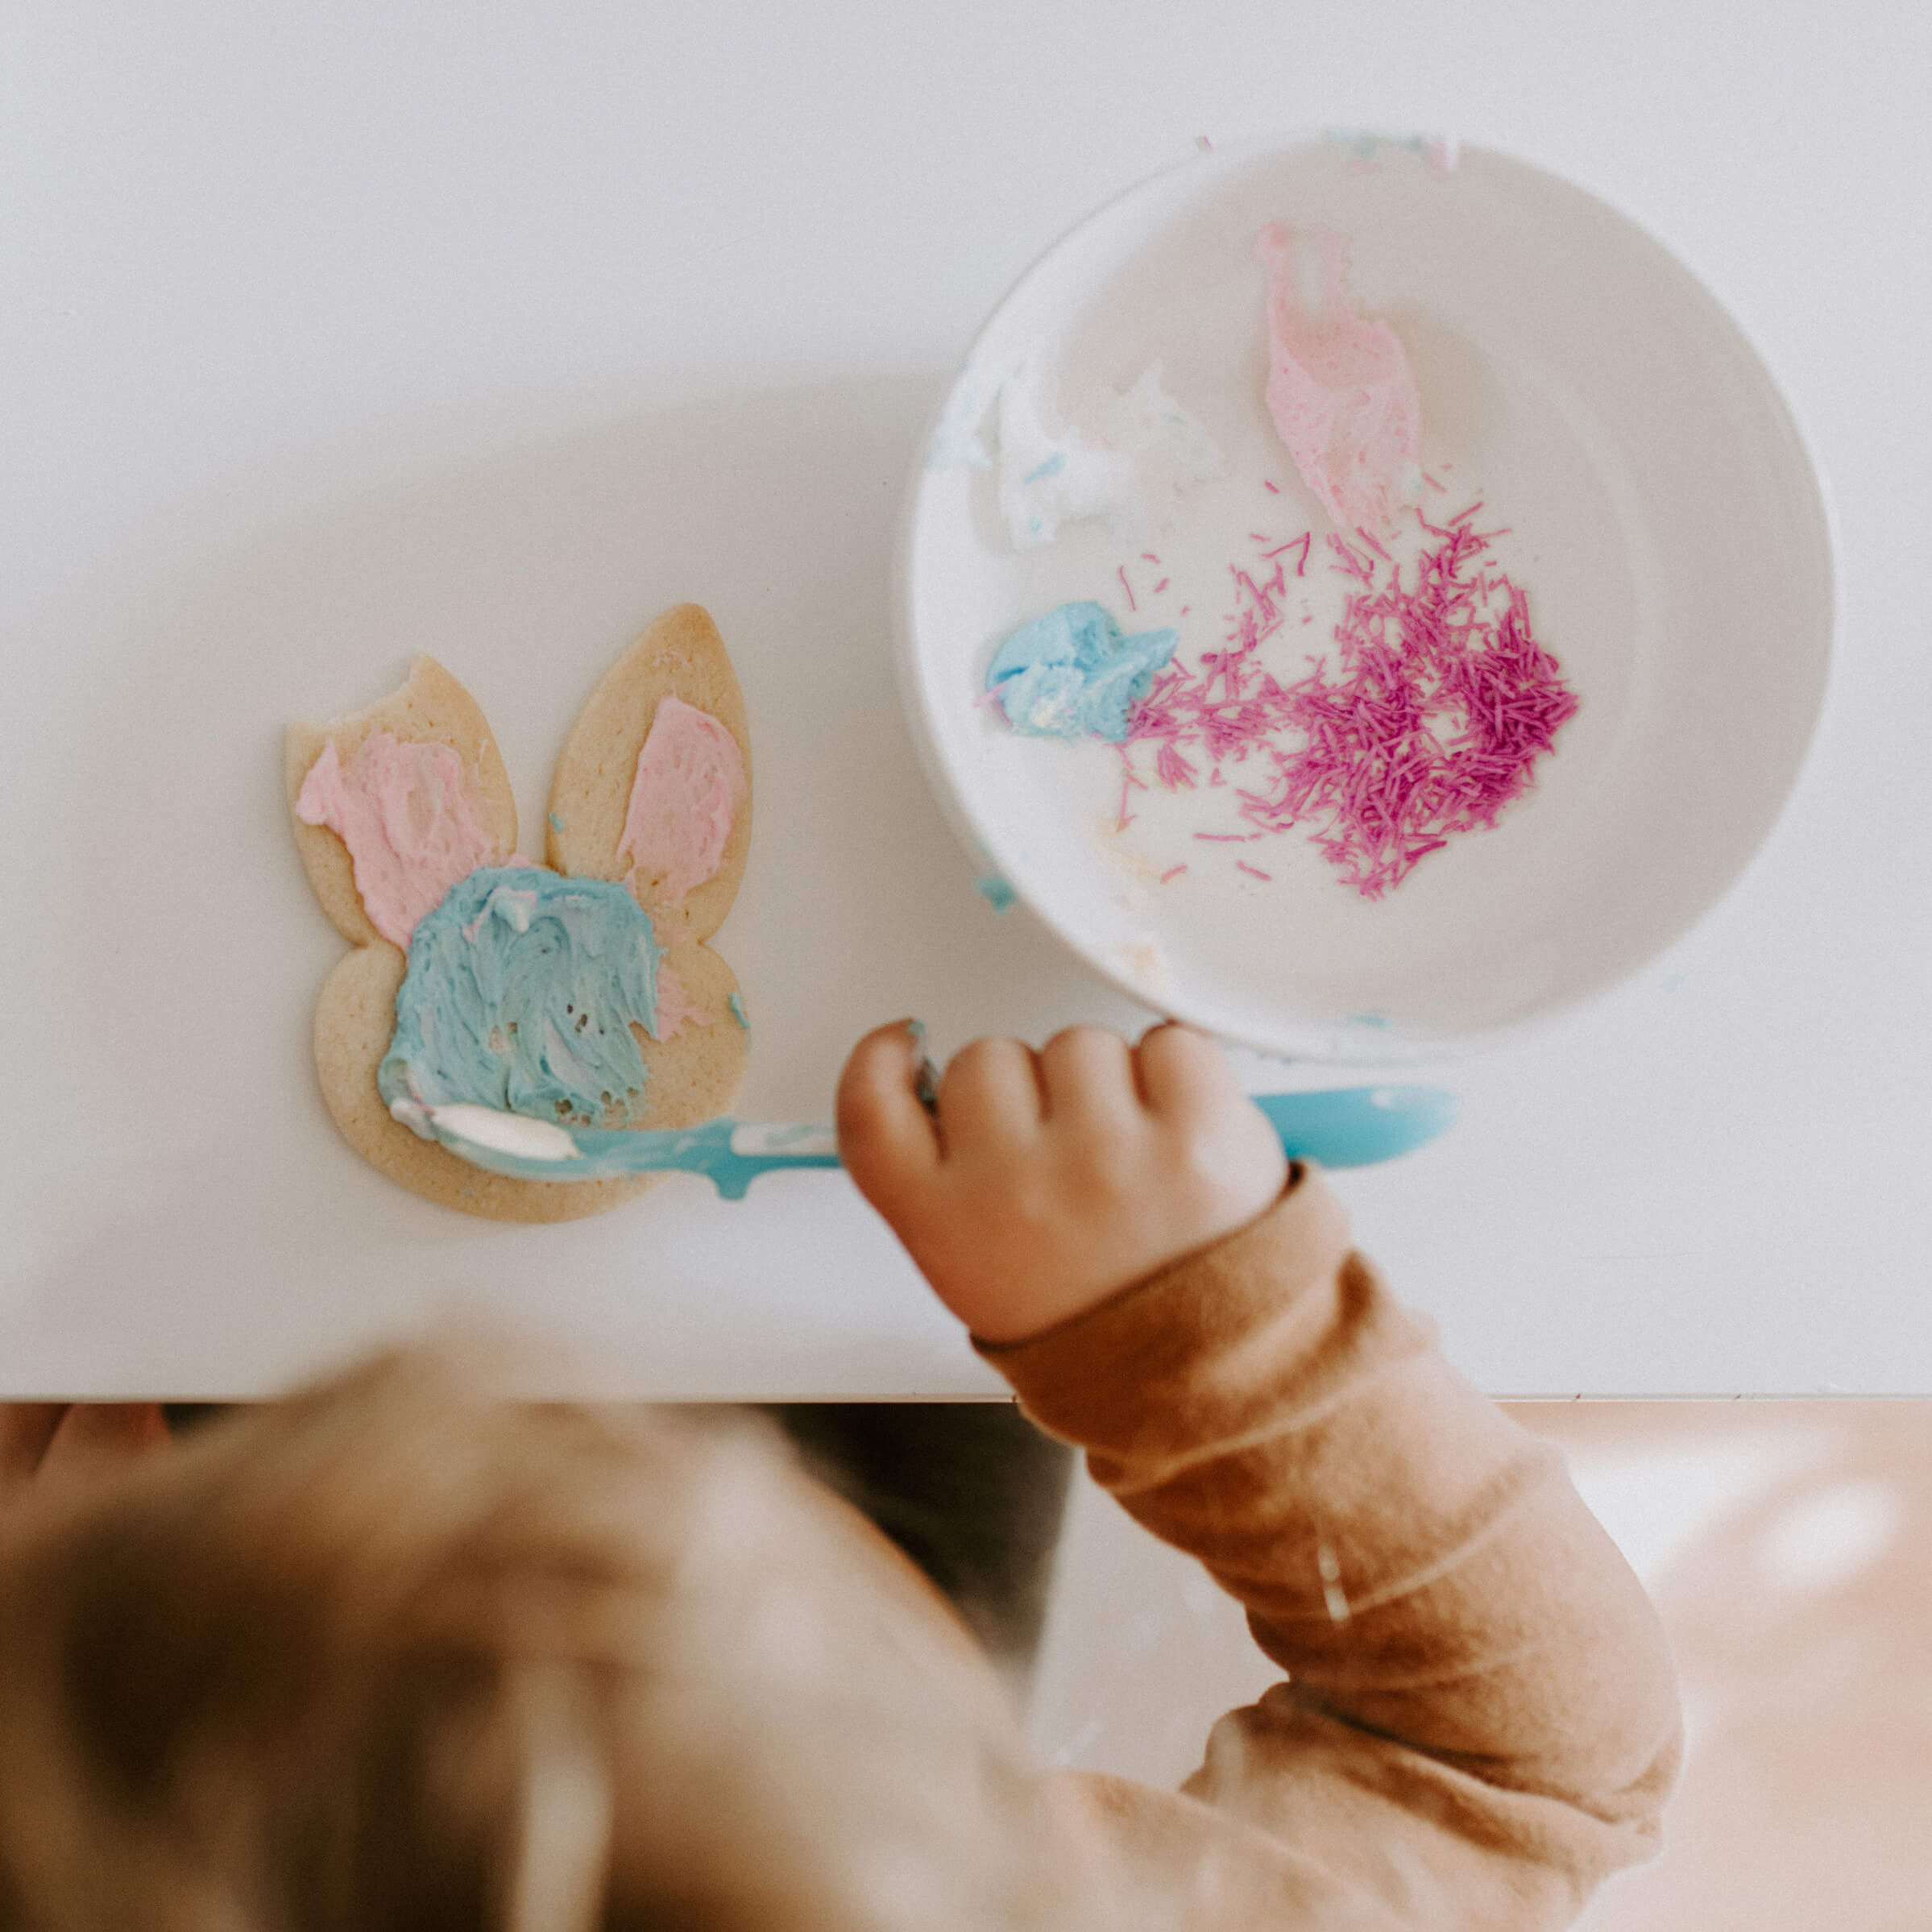
— frosting cookies
— holding/playing with balloons
— playing with a sprinkler
— building legos
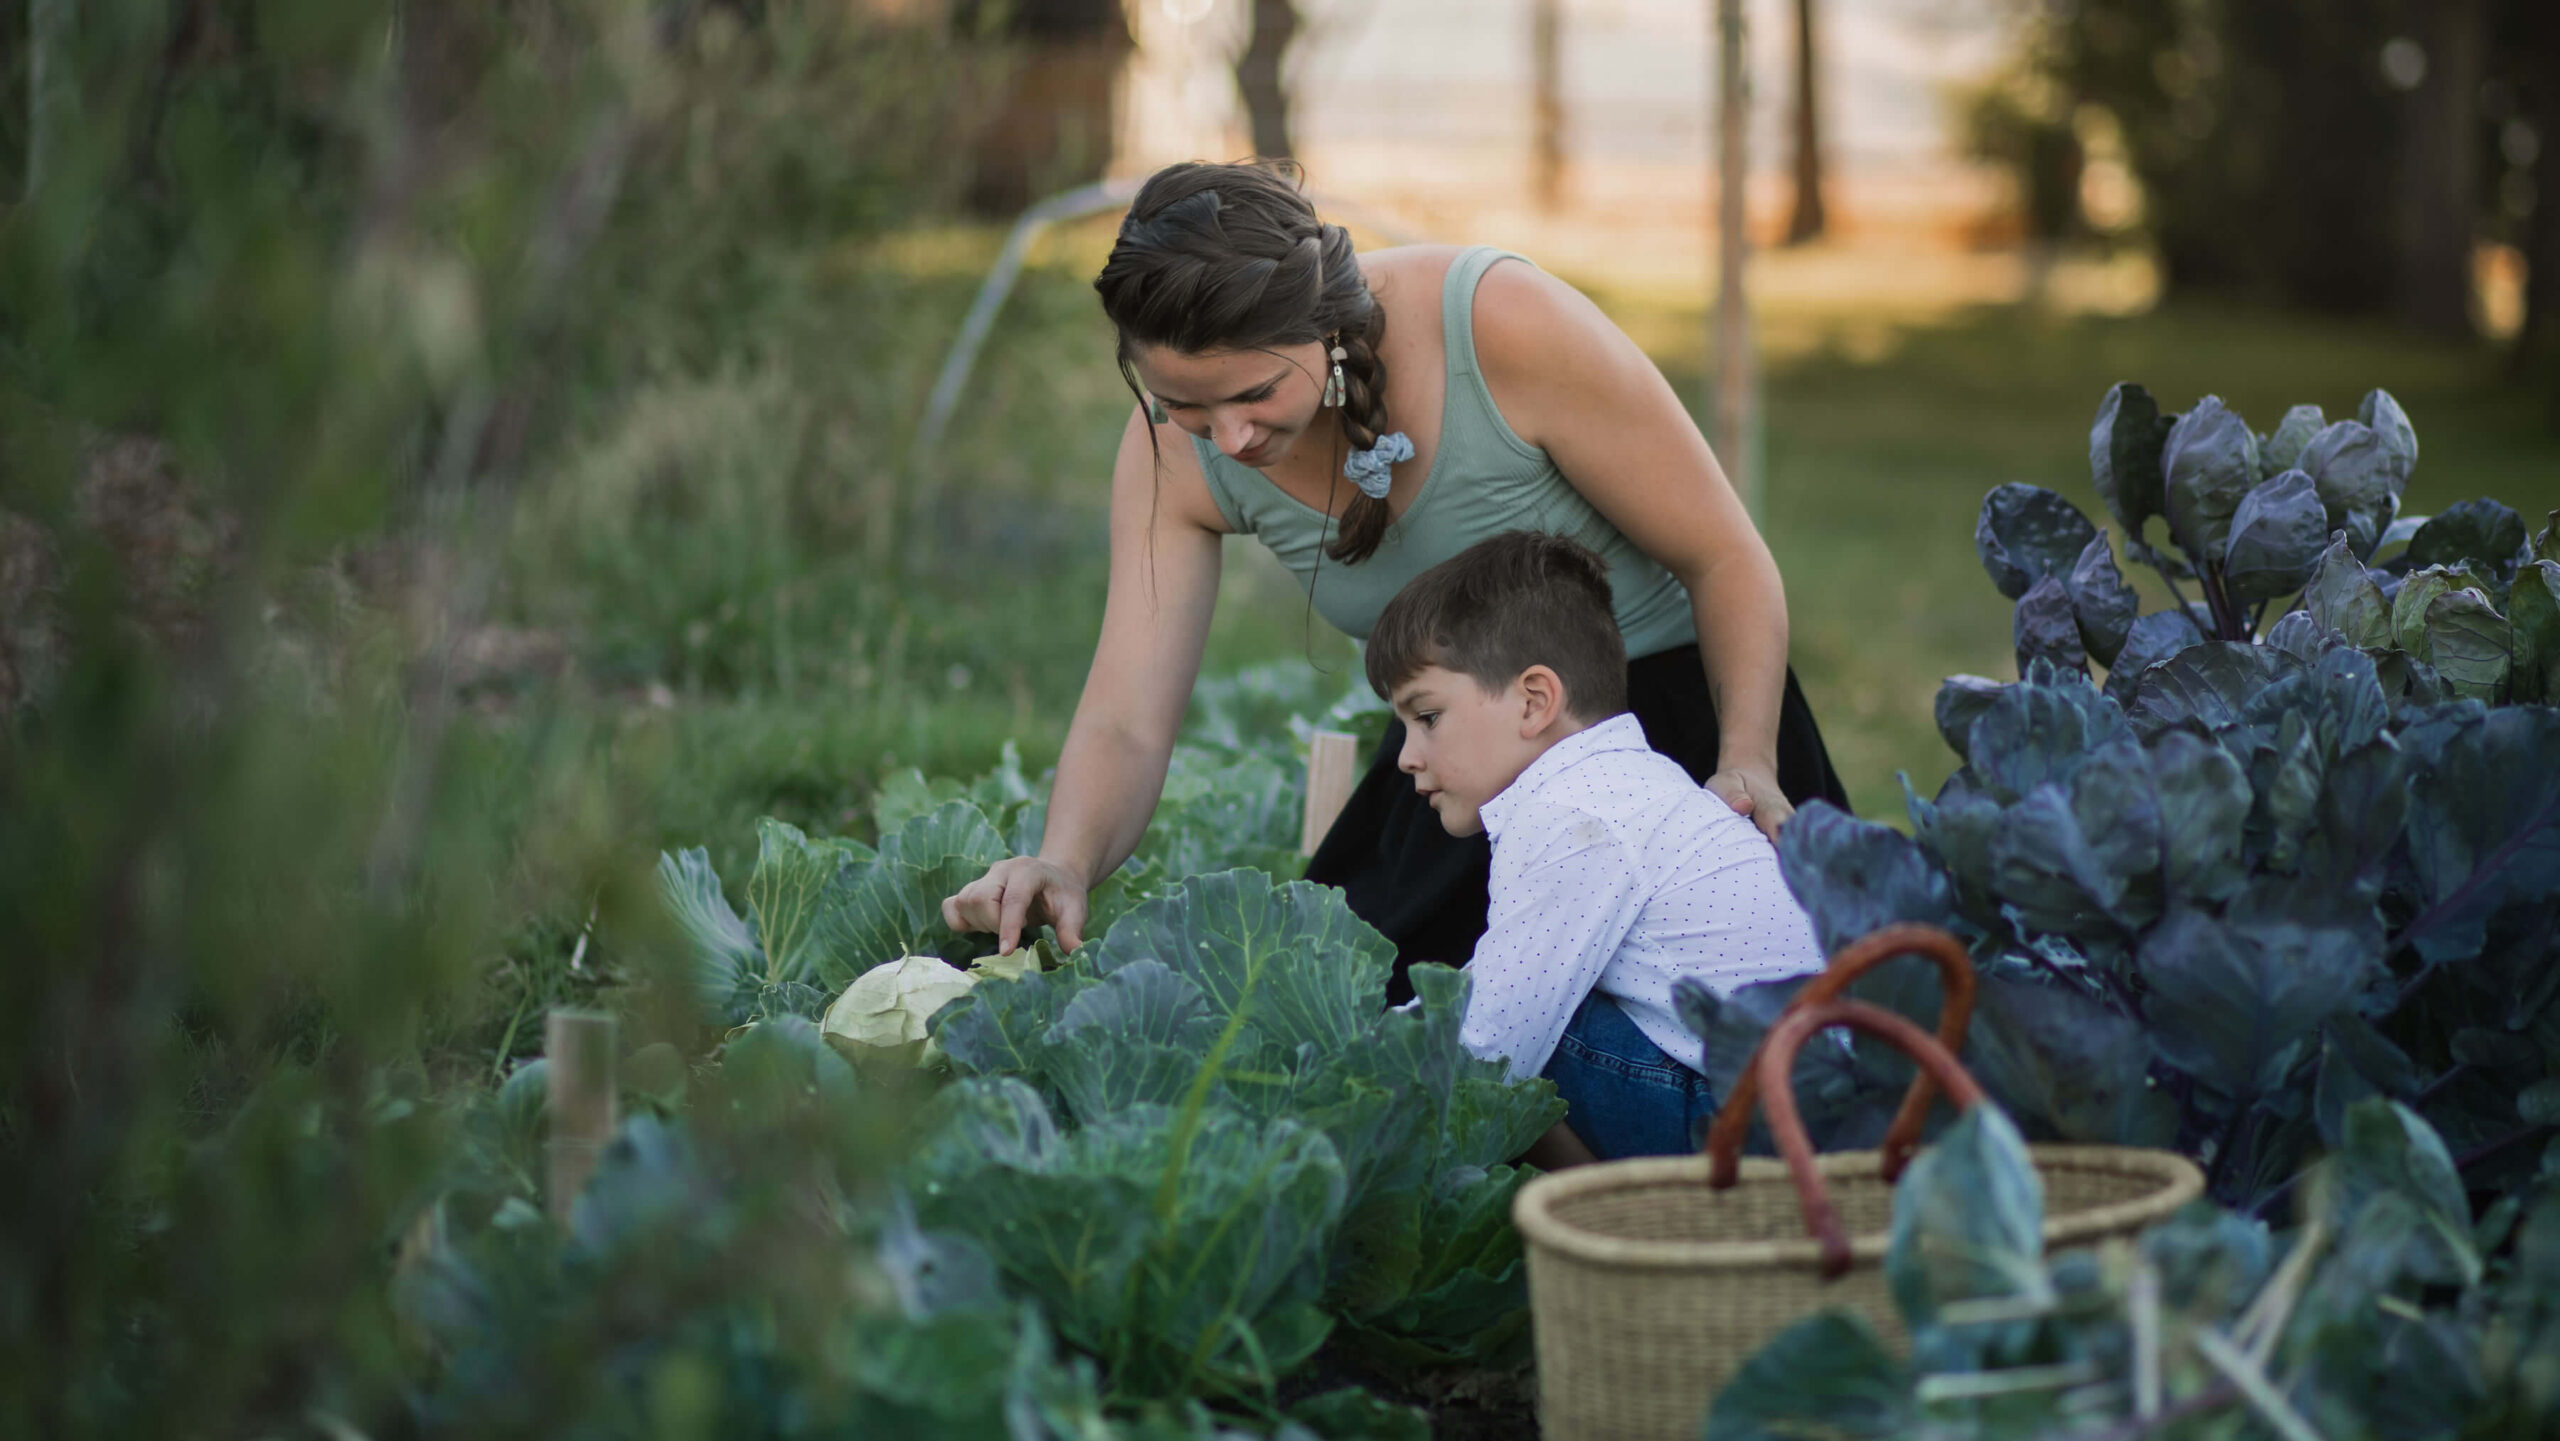
— picking vegetables\flowers\fruit
— interacting with animals
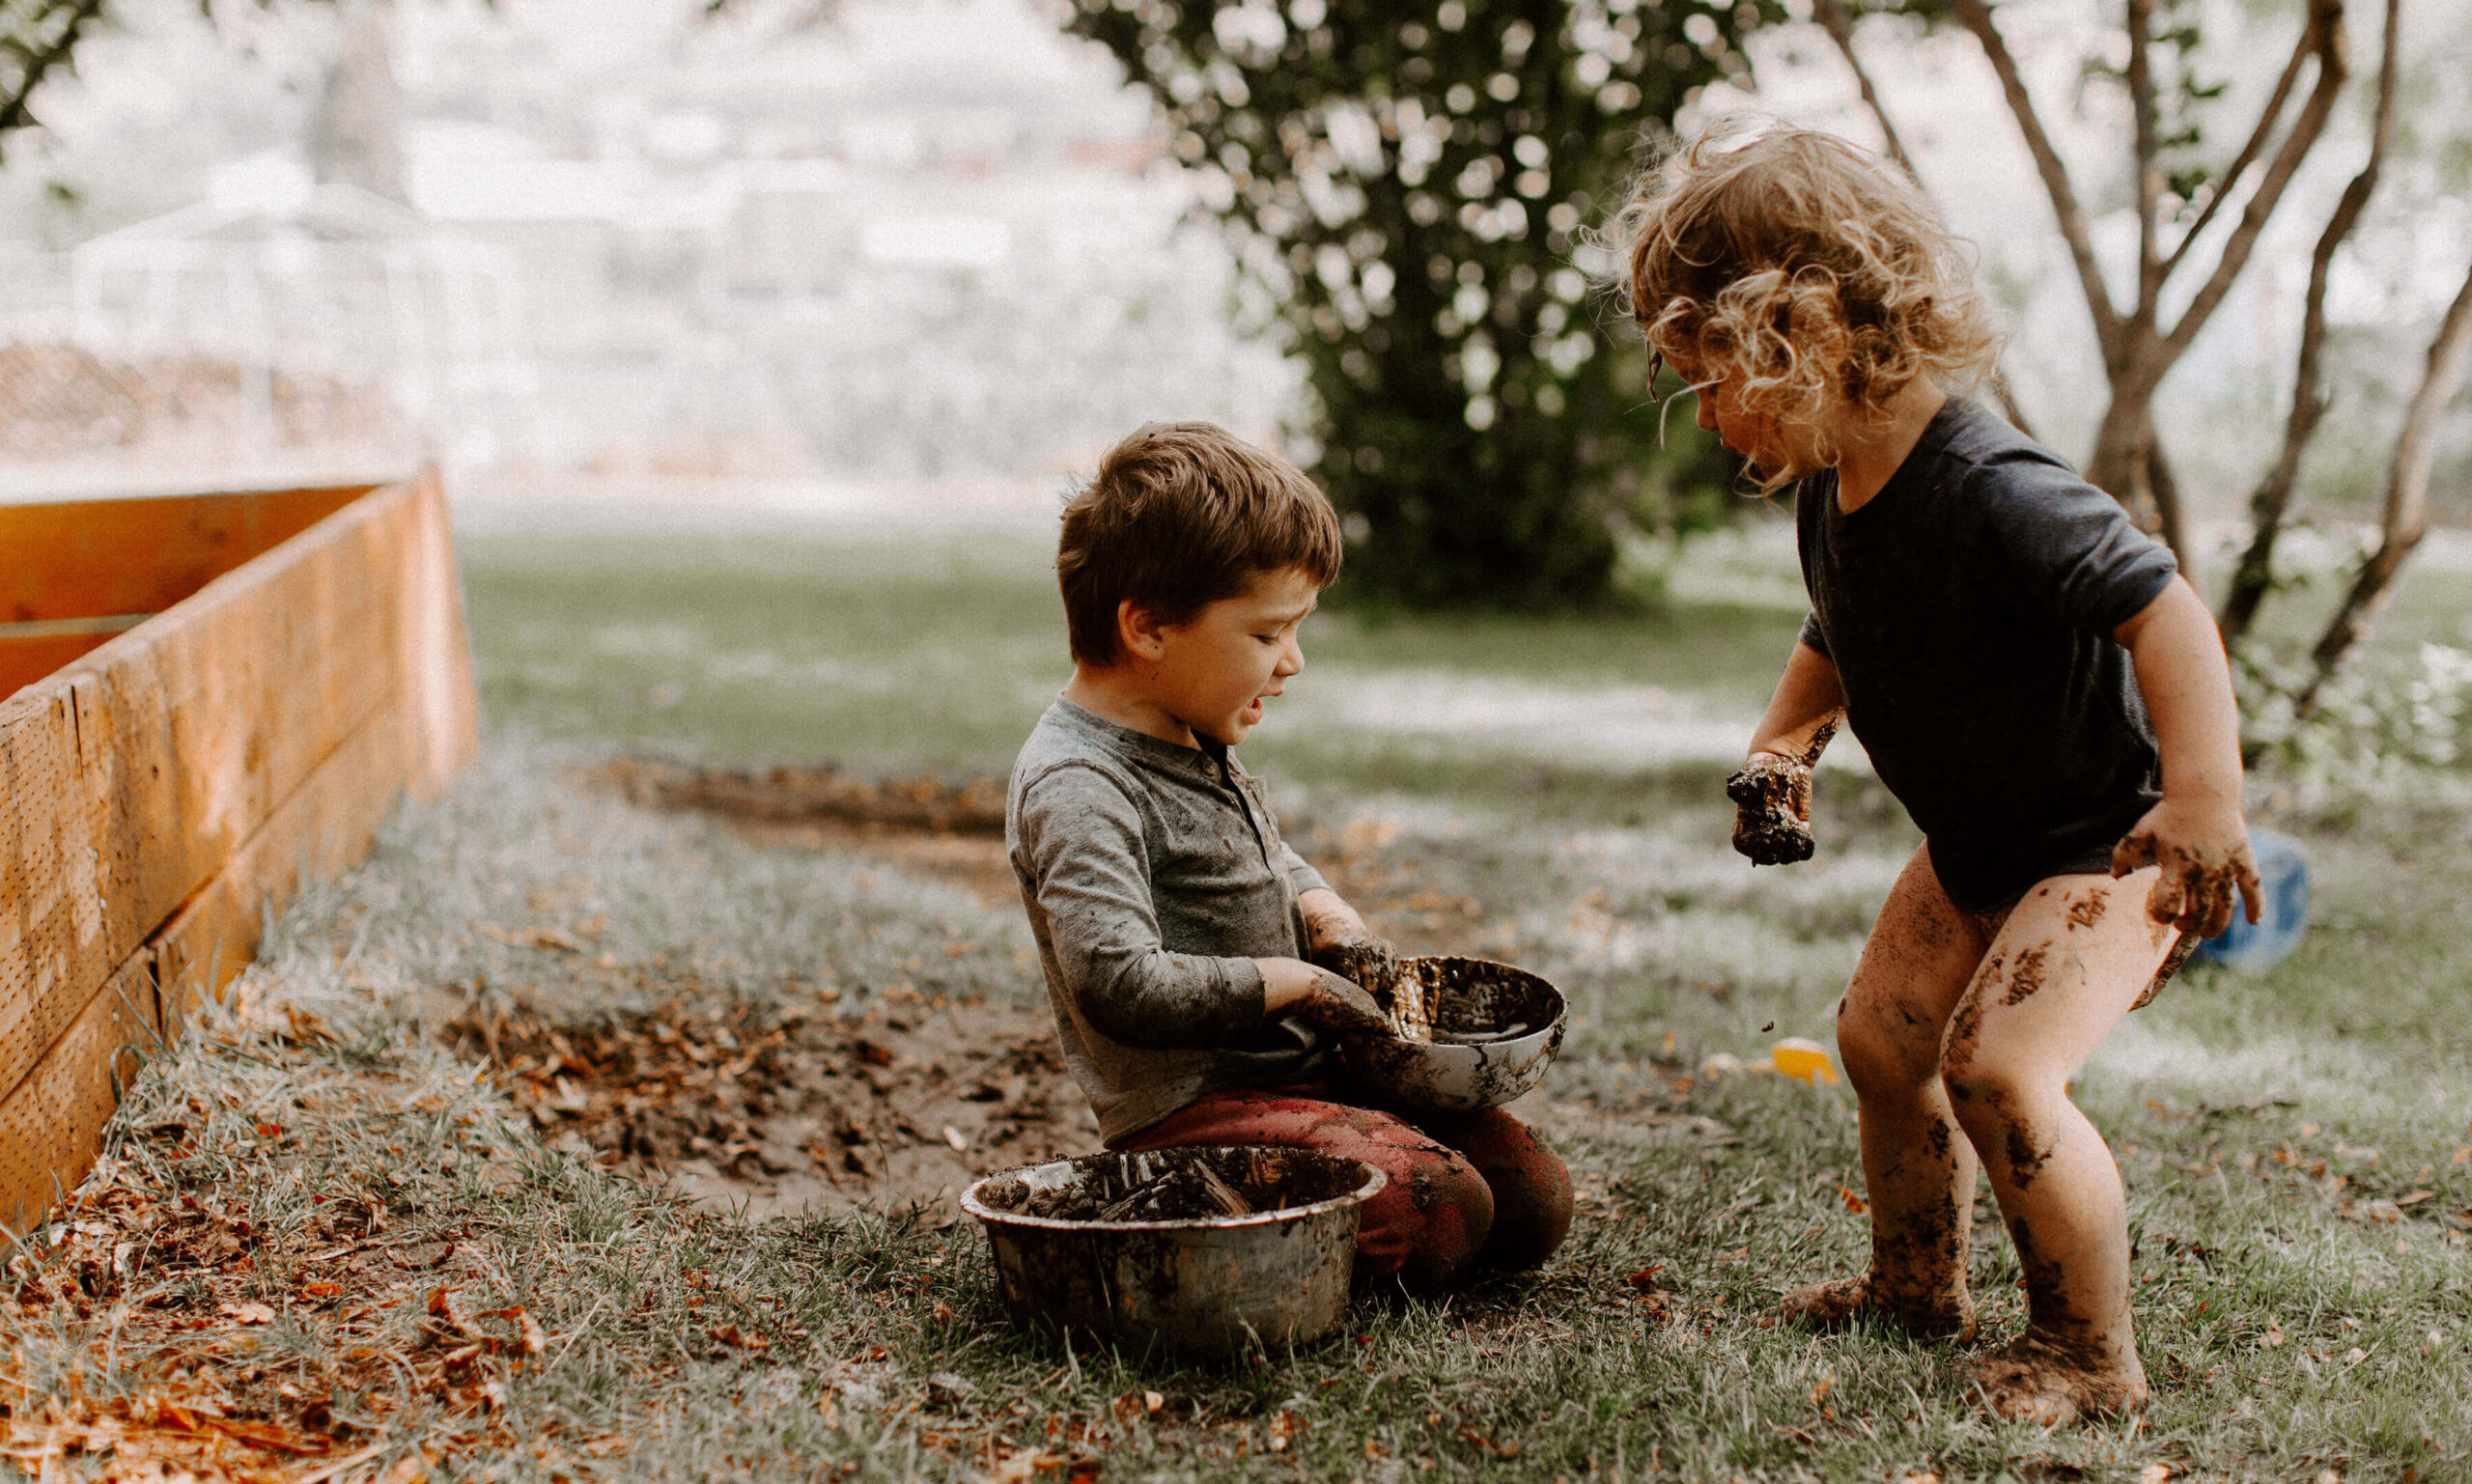
— playing in the mud
— throwing fall leaves
— making snow angels
— blowing bubbles
— holding bugs\letting butterflies go (personal favorite)
2. Pick the location.
Next step in setting the scene is picking your location. The location will depend heavily on which activity your photos are centered around, but regardless there are a couple things to keep in mind while you’re thinking about the perfect spot.
 LIGHT
LIGHT
Remember how important light is? Now’s your chance to put what you learned into practice! Is your location inside? Is there a room with amazing natural light in your home? Or a pretty window you can plop your kids in front of? If it’s outside, do you have ambient light on a covered porch, shade from trees, or is it out in the open?
 TIMING
This goes hand in hand with lighting, which obviously changes depending on the time of day. If you have time to think about the pictures a few days in advance, try to scout your location ahead of time and notice where the light is.
My boys were a muddy mess in these cute photos! Because we had tons of filtered light coming through the trees, the close up shots were great, especially when their faces were tilted up towards me (and the light!) However, because it was VERY bright on the outside of the shaded area, the pulled-back shots ended up with some blown out areas in the background.
3. Set the scene.
Once you have ideas laid out for your activity, location and time, the only thing left to do is actually set the scene! This is the time to think about all the details, because once your camera is out and you’re snapping photos, you will be having so much fun with your littles that you won’t be thinking about the details.
DECLUTTER
It’s best to keep your scene as simple as possible so your subjects stand out. I try to get any trash, extra toys, dirty dishes and unnecessary furniture out of the way if my shoot is inside. A great way to consider the entire scene is to take a test photo of the space ahead of time and see what ends up in the frame. Remove any distracting elements.
CAMERA SETTINGS & LOGISTICS
Get your camera settings squared away ahead of time. Take a few test shots and think about aperture, ISO and shutter speed. This is also the time to think about the angle you want to shoot from (are you standing on a chair, kneeling on the ground, belly to the floor?)
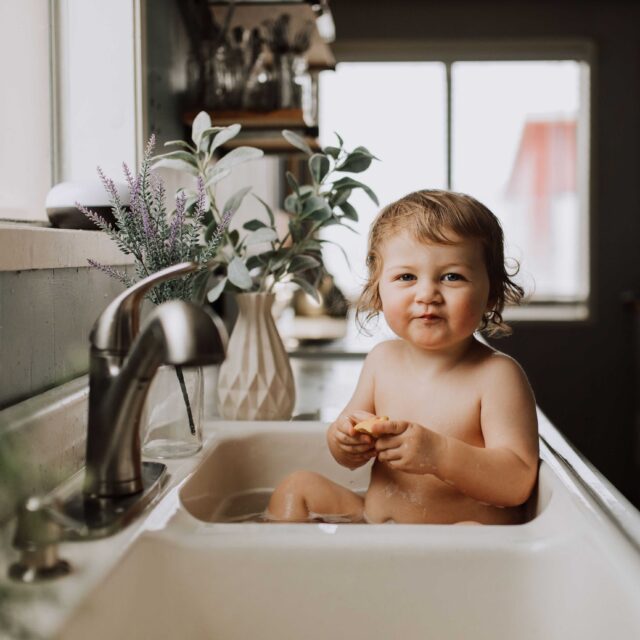
For this picture, I spent about 5 minutes preparing before I brought Wilder in. I cleaned off the counter, decluttered the shelf a bit that you can see reflected in the mirror, added a new toilet paper roll and swapped a lavender plant for this succulent to bring in this nice green color. Then I took some test shots to get my settings dialed in. By the time I brought him in, all I had to do was click!

He spent about 3-5 minutes in the sink playing in the water, throwing TP around (I did a lot of that too, trying to make him laugh) and just simply enjoying being in this particular sink, which was a new experience for him. It was so simple!
Remember to Keep it Fun!
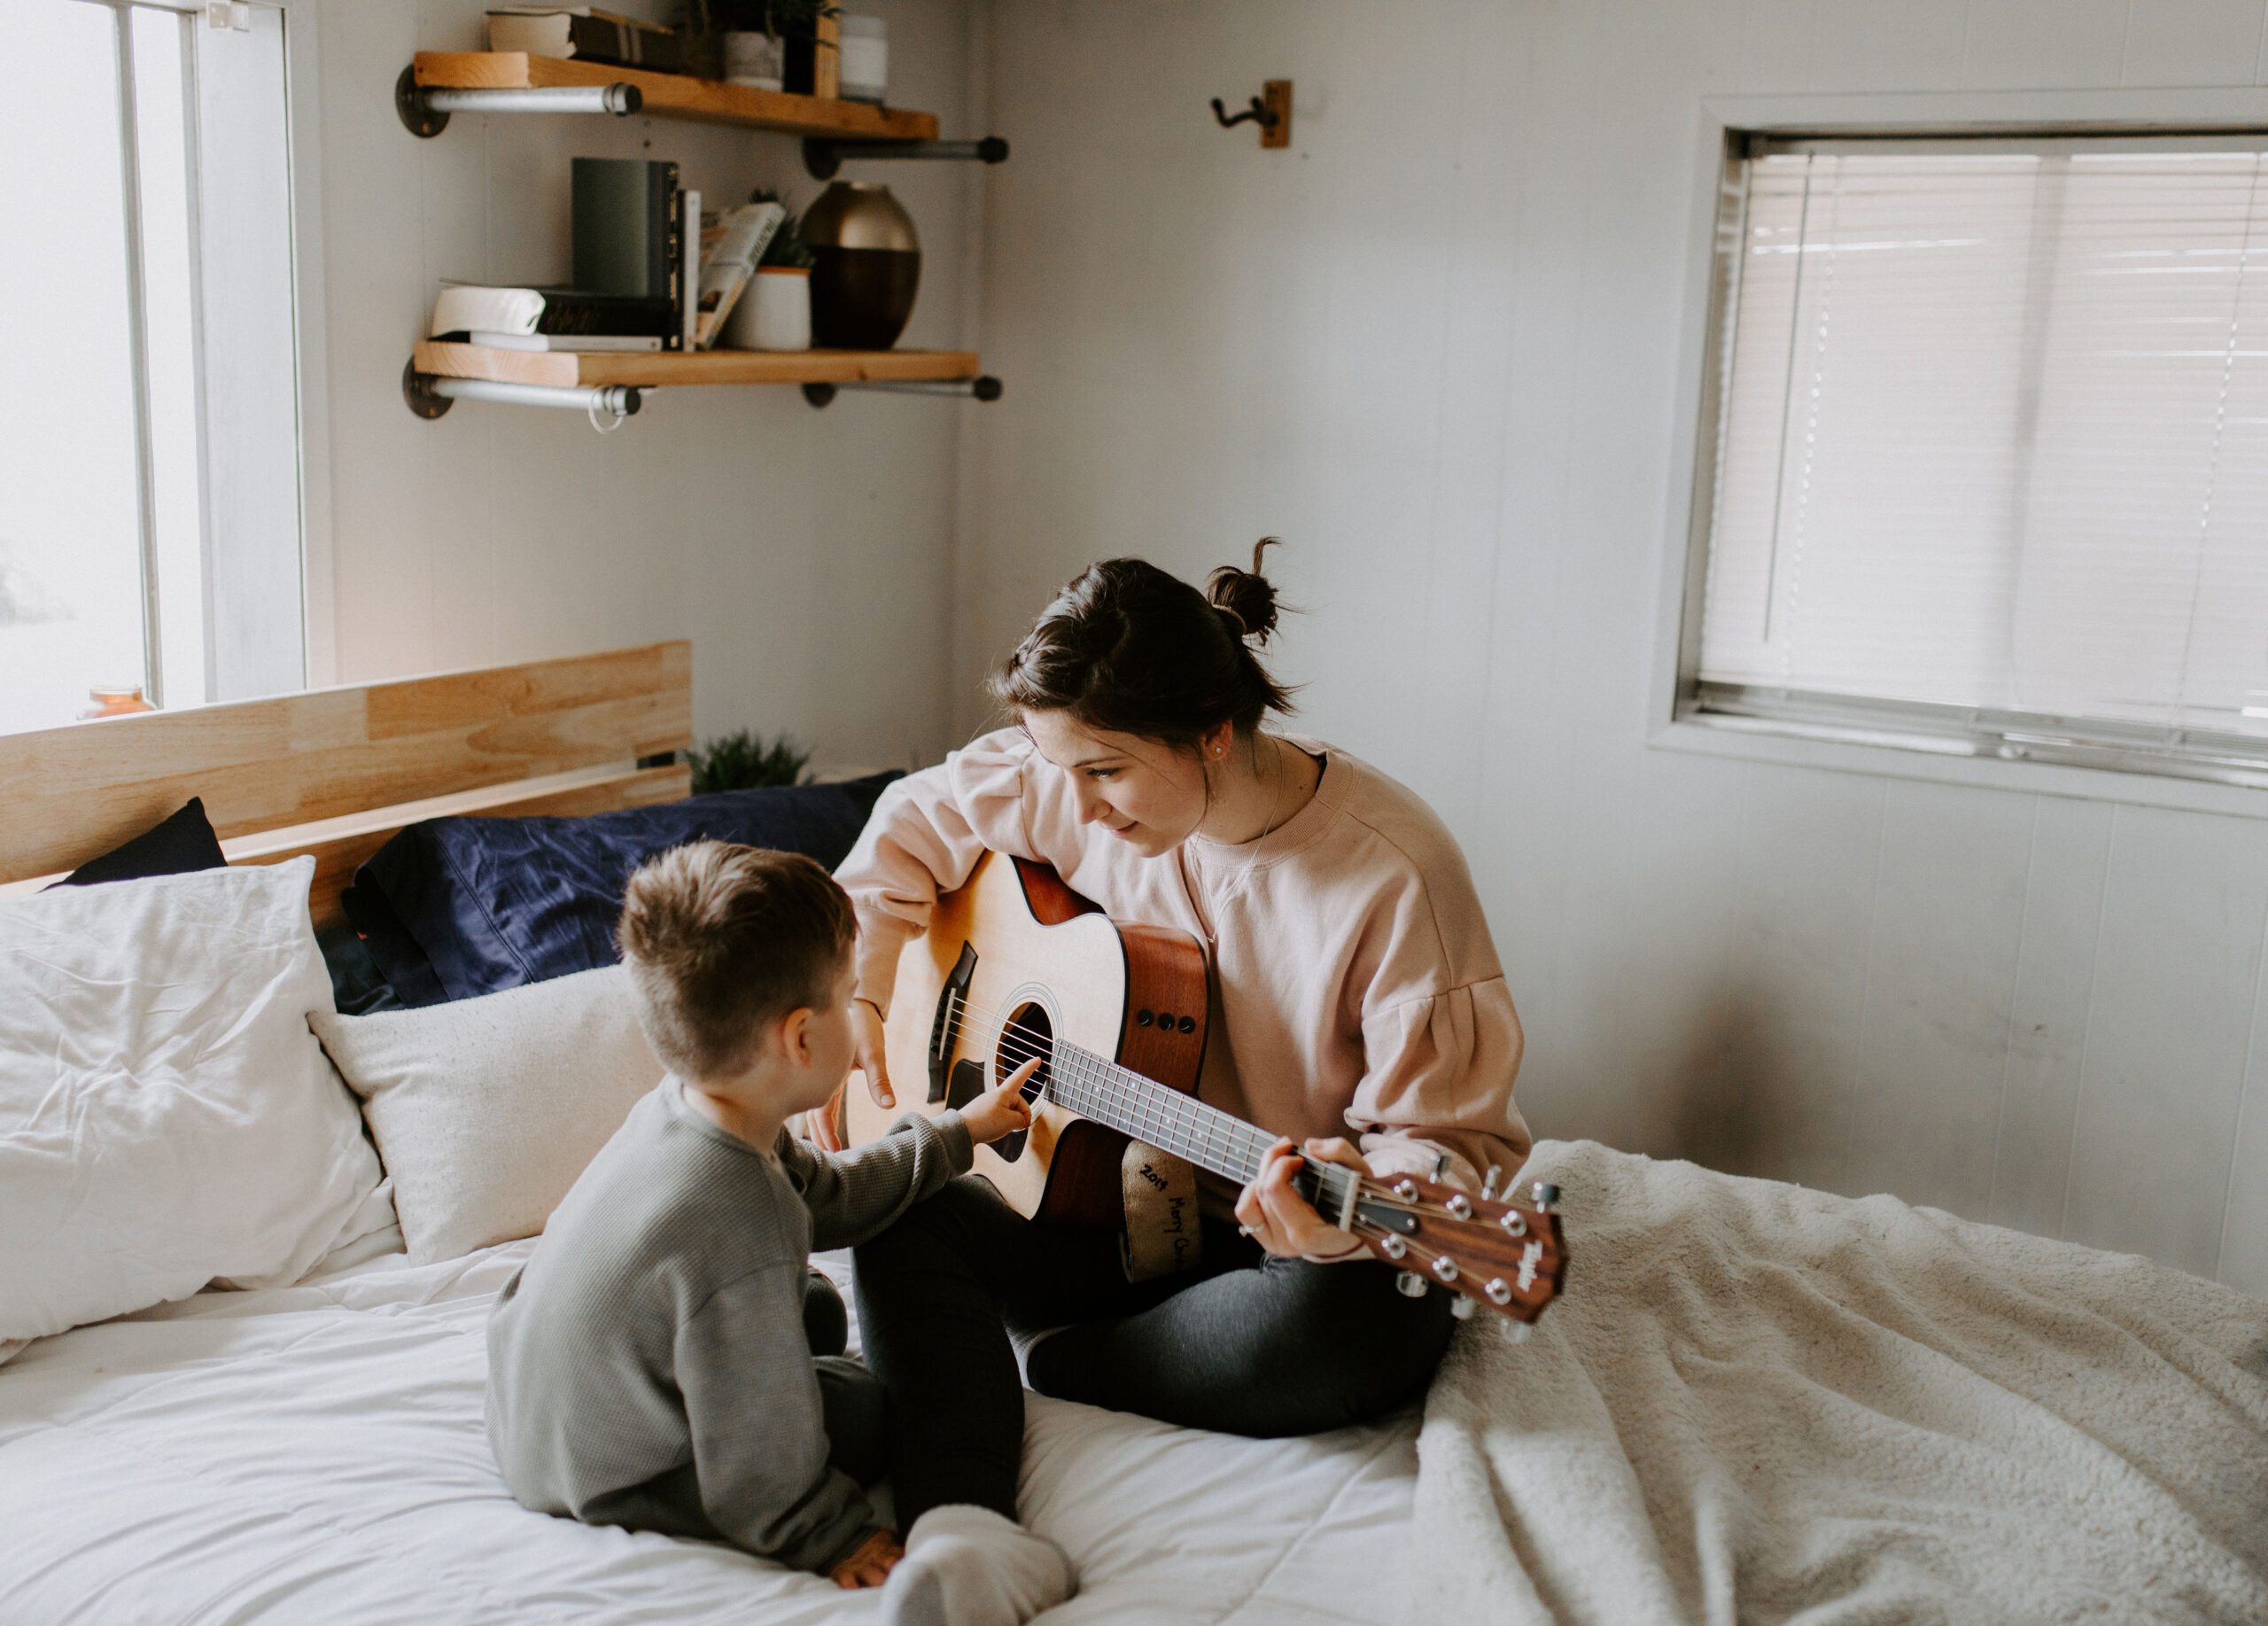
You will hear me say this over and over again throughout this series. Keep having fun at the top of your priority list! Make sure your kiddos are having a great time so they want to do it again. I was so tickled recently when I was getting ready for a shoot in the garden with Wilder. Emmett saw me and said, “Can I get in the picture??” I laughed and said “Not in THOSE clothes.” He looked down at his green striped sweatpants and dirty tank top and seemed to understand. He ran back to the house and excitedly picked out some clean clothes, then sat in the garden with me for a couple pictures. It wasn’t even my plan, but his joy and excitement about this little project was so sweet. He’s old enough now that I include him in taking the pictures too…with some of my less expensive gear 🙂
These are some basic elements I touch on for every single shoot, no matter how quick. If I happen to have extra time an energy for more extensive planning, I have a few more tricks up my sleeve – come back next week to find out what they are!
Need some extra help? Download this free PDF worksheet with that will help you plan out your shoot ahead of time and aid you on your journey towards becoming your own family photographer.